
Worm your way into Vermicast
Have you heard of Vermicast? If that’s not a word you’re familiar with, you’re likely not alone, but it's a secret weapon every home gardener and agriculturalist should know about. You have certainly heard vermicast called by another name - worm castings or more frankly, worm poop. The use of vermicast is gaining recognition as a way to turn food waste and other organic material into a product that can boost soil and plant health.
You might be thinking that vermicast sounds an awful lot like compost, but there are some key differences that set them apart. The process of creating traditional compost involves heat generation that is a by-product of microbiology, such as bacteria and fungi, becoming highly active, reproducing, and breaking down materials. If you’ve ever seen a compost or manure pile steaming on a chilly morning that’s what is driving that heat. This microbial activity can reach temperatures around 160°F which transforms the starting material like manure, leaves, wood chips, or food waste into dark, rich compost after a few months. On the flip side, vermicomposting (“vermi” meaning relating to worms) is a process that relies on worms to digest starting materials to create the final product, vermicast, which is similar in look and smell to compost. When creating vermicast, there is almost no heat generation and there is significantly less microbial activity as most of the material breakdown is done in the belly of the worm. Temperatures in the worm bin remain well below 100°F and therefore it can have more microbial diversity than compost because the microbes that thrive in lower temperatures aren’t killed off. The final product is similar to compost and can be used for similar purposes.
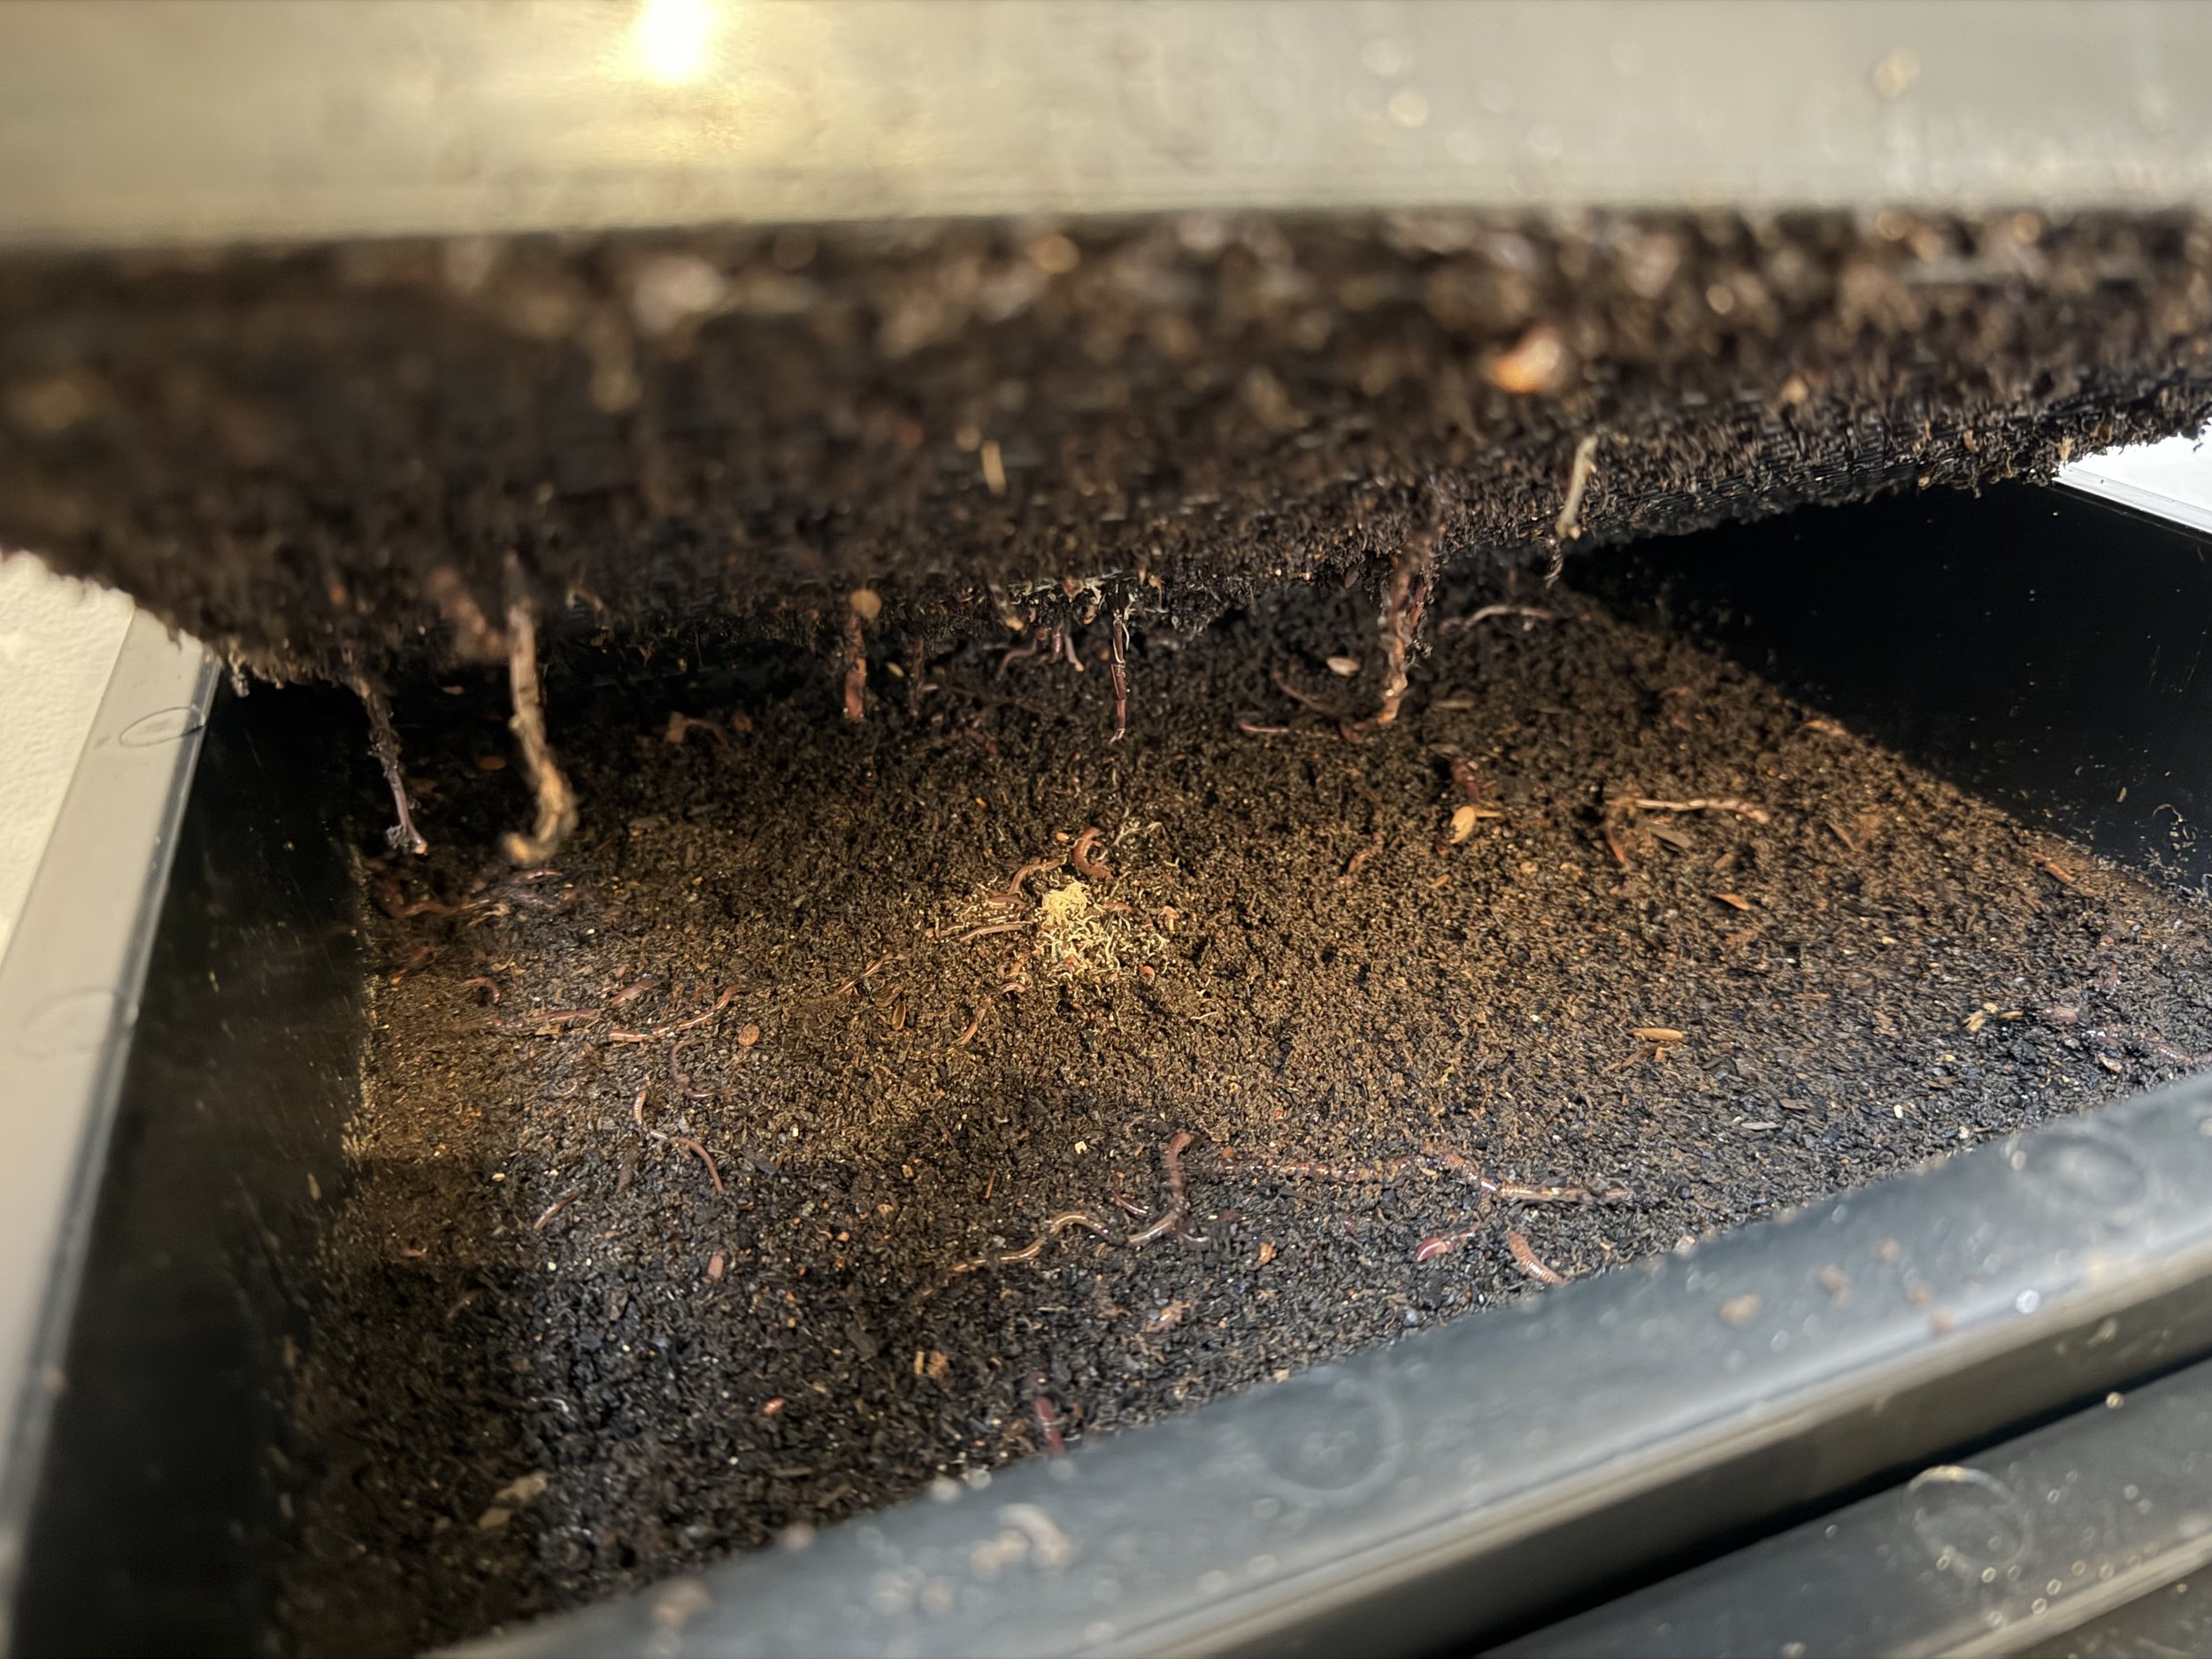
Red Wrigglers hard at work
This is a peek inside a worm bin and this tray is almost completed - this started as shredded cardboard and foodscraps and the worms have transformed it into a nutrient-rich and microbially active soil amendment.
Records of vermicomposting date back centuries with Cleopatra reportedly valuing their role in agriculture and Aristotle referring to worms as “the intestines of the soil”. The 1970s brought on a wave of vermicomposting in the U.S. after Mary Appelhof published informational brochures on breeding worms to reduce food waste and to make profit selling bait to fishermen. Going deeper than that, vermicast has been the topic of thousands of scientific studies worldwide determining the efficacy, safety, and benefits on soil and plant health. Understanding what vermicast is composed of can help us understand the benefits it can offer. Organic matter makes up the majority of vermicast which has a high surface area allowing storage of extra water, minerals, and microbial life when added to soil. What sets vermicast apart from traditional fertilizers is that it has stable forms of plant-available nitrogen, potassium, phosphorus, calcium, and magnesium that are released slowly over time so the risk of nutrient leaching is reduced. Most importantly, what gives vermicast unique benefits is that it contains plant growth hormones such as auxins, gibberelins, and cytokinins as well as other beneficial substances like humic acids, fulvic acids, and diverse microbiology which also stimulate plant growth and speed up the breakdown of insoluble minerals in the soil. Studies have shown that amending soil or seeds with vermicast can cause seeds to germinate more quickly, increase root biomass, improve root stress tolerance, and boost plant yields (see photos below from a ranch in Eastern Montana). I have seen the impacts first hand of adding vermicast to the seeder on half of a cover crop and with no addition to the other half. The results can be stark - not only is the crop with the vermicast usually taller and more robust, you can see the difference in the extent of the root systems. The plants with vermicast are provided stimulating exudates as well as a boost of available minerals right from the start so it makes sense why they go on to be healthier and produce higher quality yield in the end.
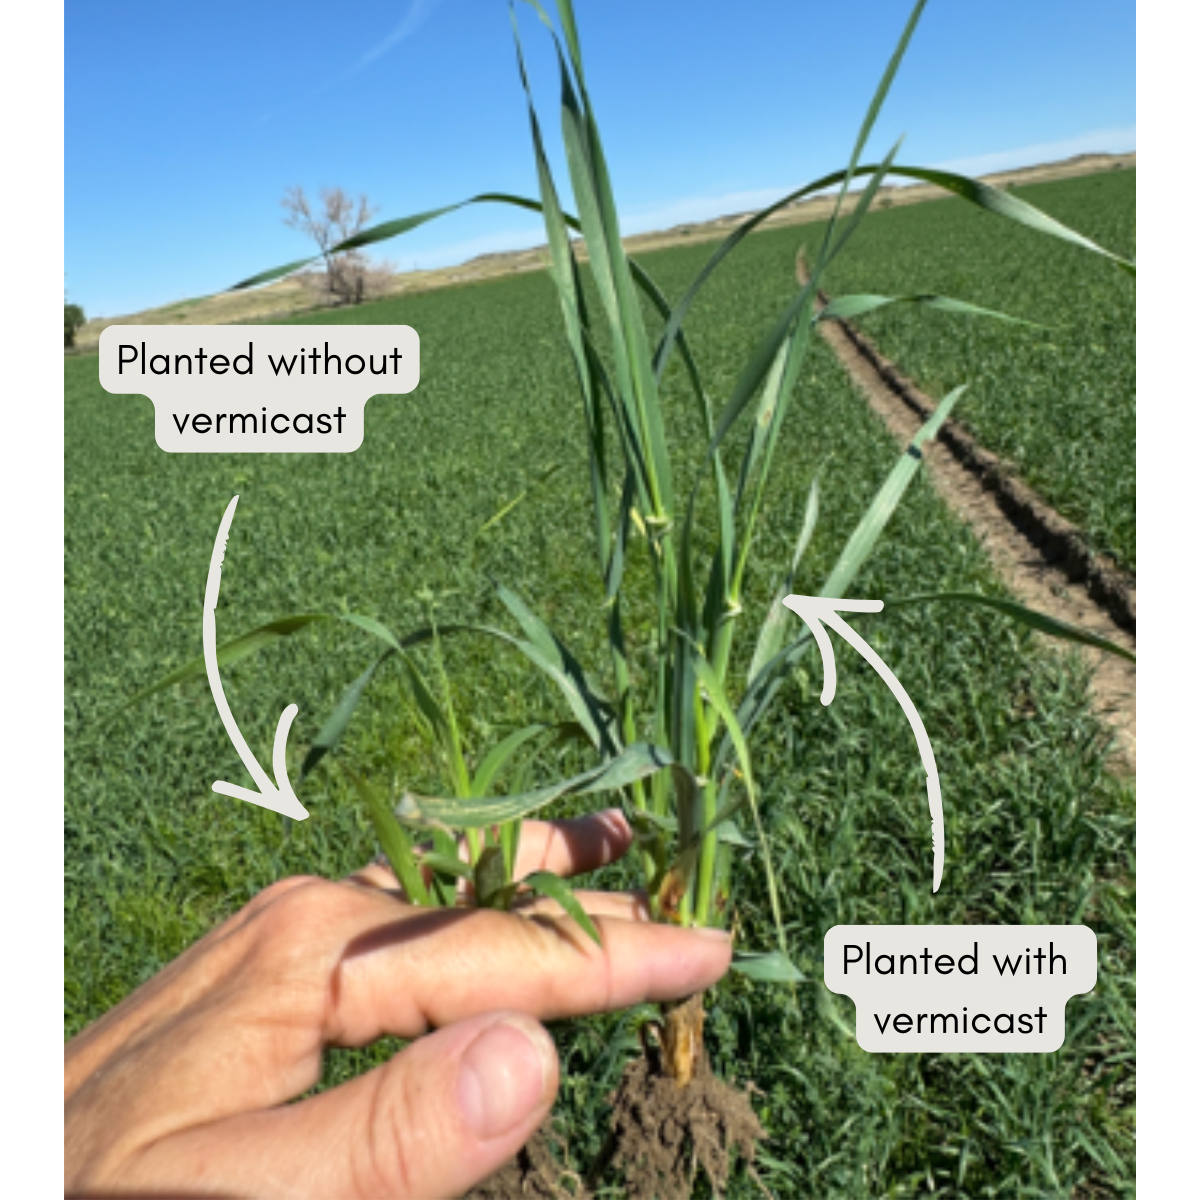
Wheat planted with and without vermicast
This rancher in Eastern Montana saw huge visible diffrences in their crop when coating their seed in vermicast vs. leaving the seed bare. This is due to the boost of microbiology and plant available minerals that give seedlings a boost from the start
Making vermicast can be done on a small scale such as in a home kitchen all the way up to large scale servicing an entire farm or ranch. It is a rewarding hobby or enterprise that almost anyone can do. I personally have a worm bin in my kitchen to use my food scraps as a resource rather than a waste stream with the help of my wiggly friends (plus they are less maintenance than a dog or cat). I made my first worm bin last summer as a demonstration for Ladies' Day on the Range. I simply drilled about twenty ¼ inch holes in the bottom of two 5 gallon buckets with a third bucket underneath the holey ones to catch any extra moisture. You can also use a couple of plastic bins as well for even more surface area. I used black buckets because worms prefer the dark and also drilled holes in the lid so the worms could get plenty of air. As I got the hang of it, I upgraded to a pre-built worm bin with 4 stackable trays you can purchase online for around $100 that make set up even easier. All you need next is worm bedding and worms!
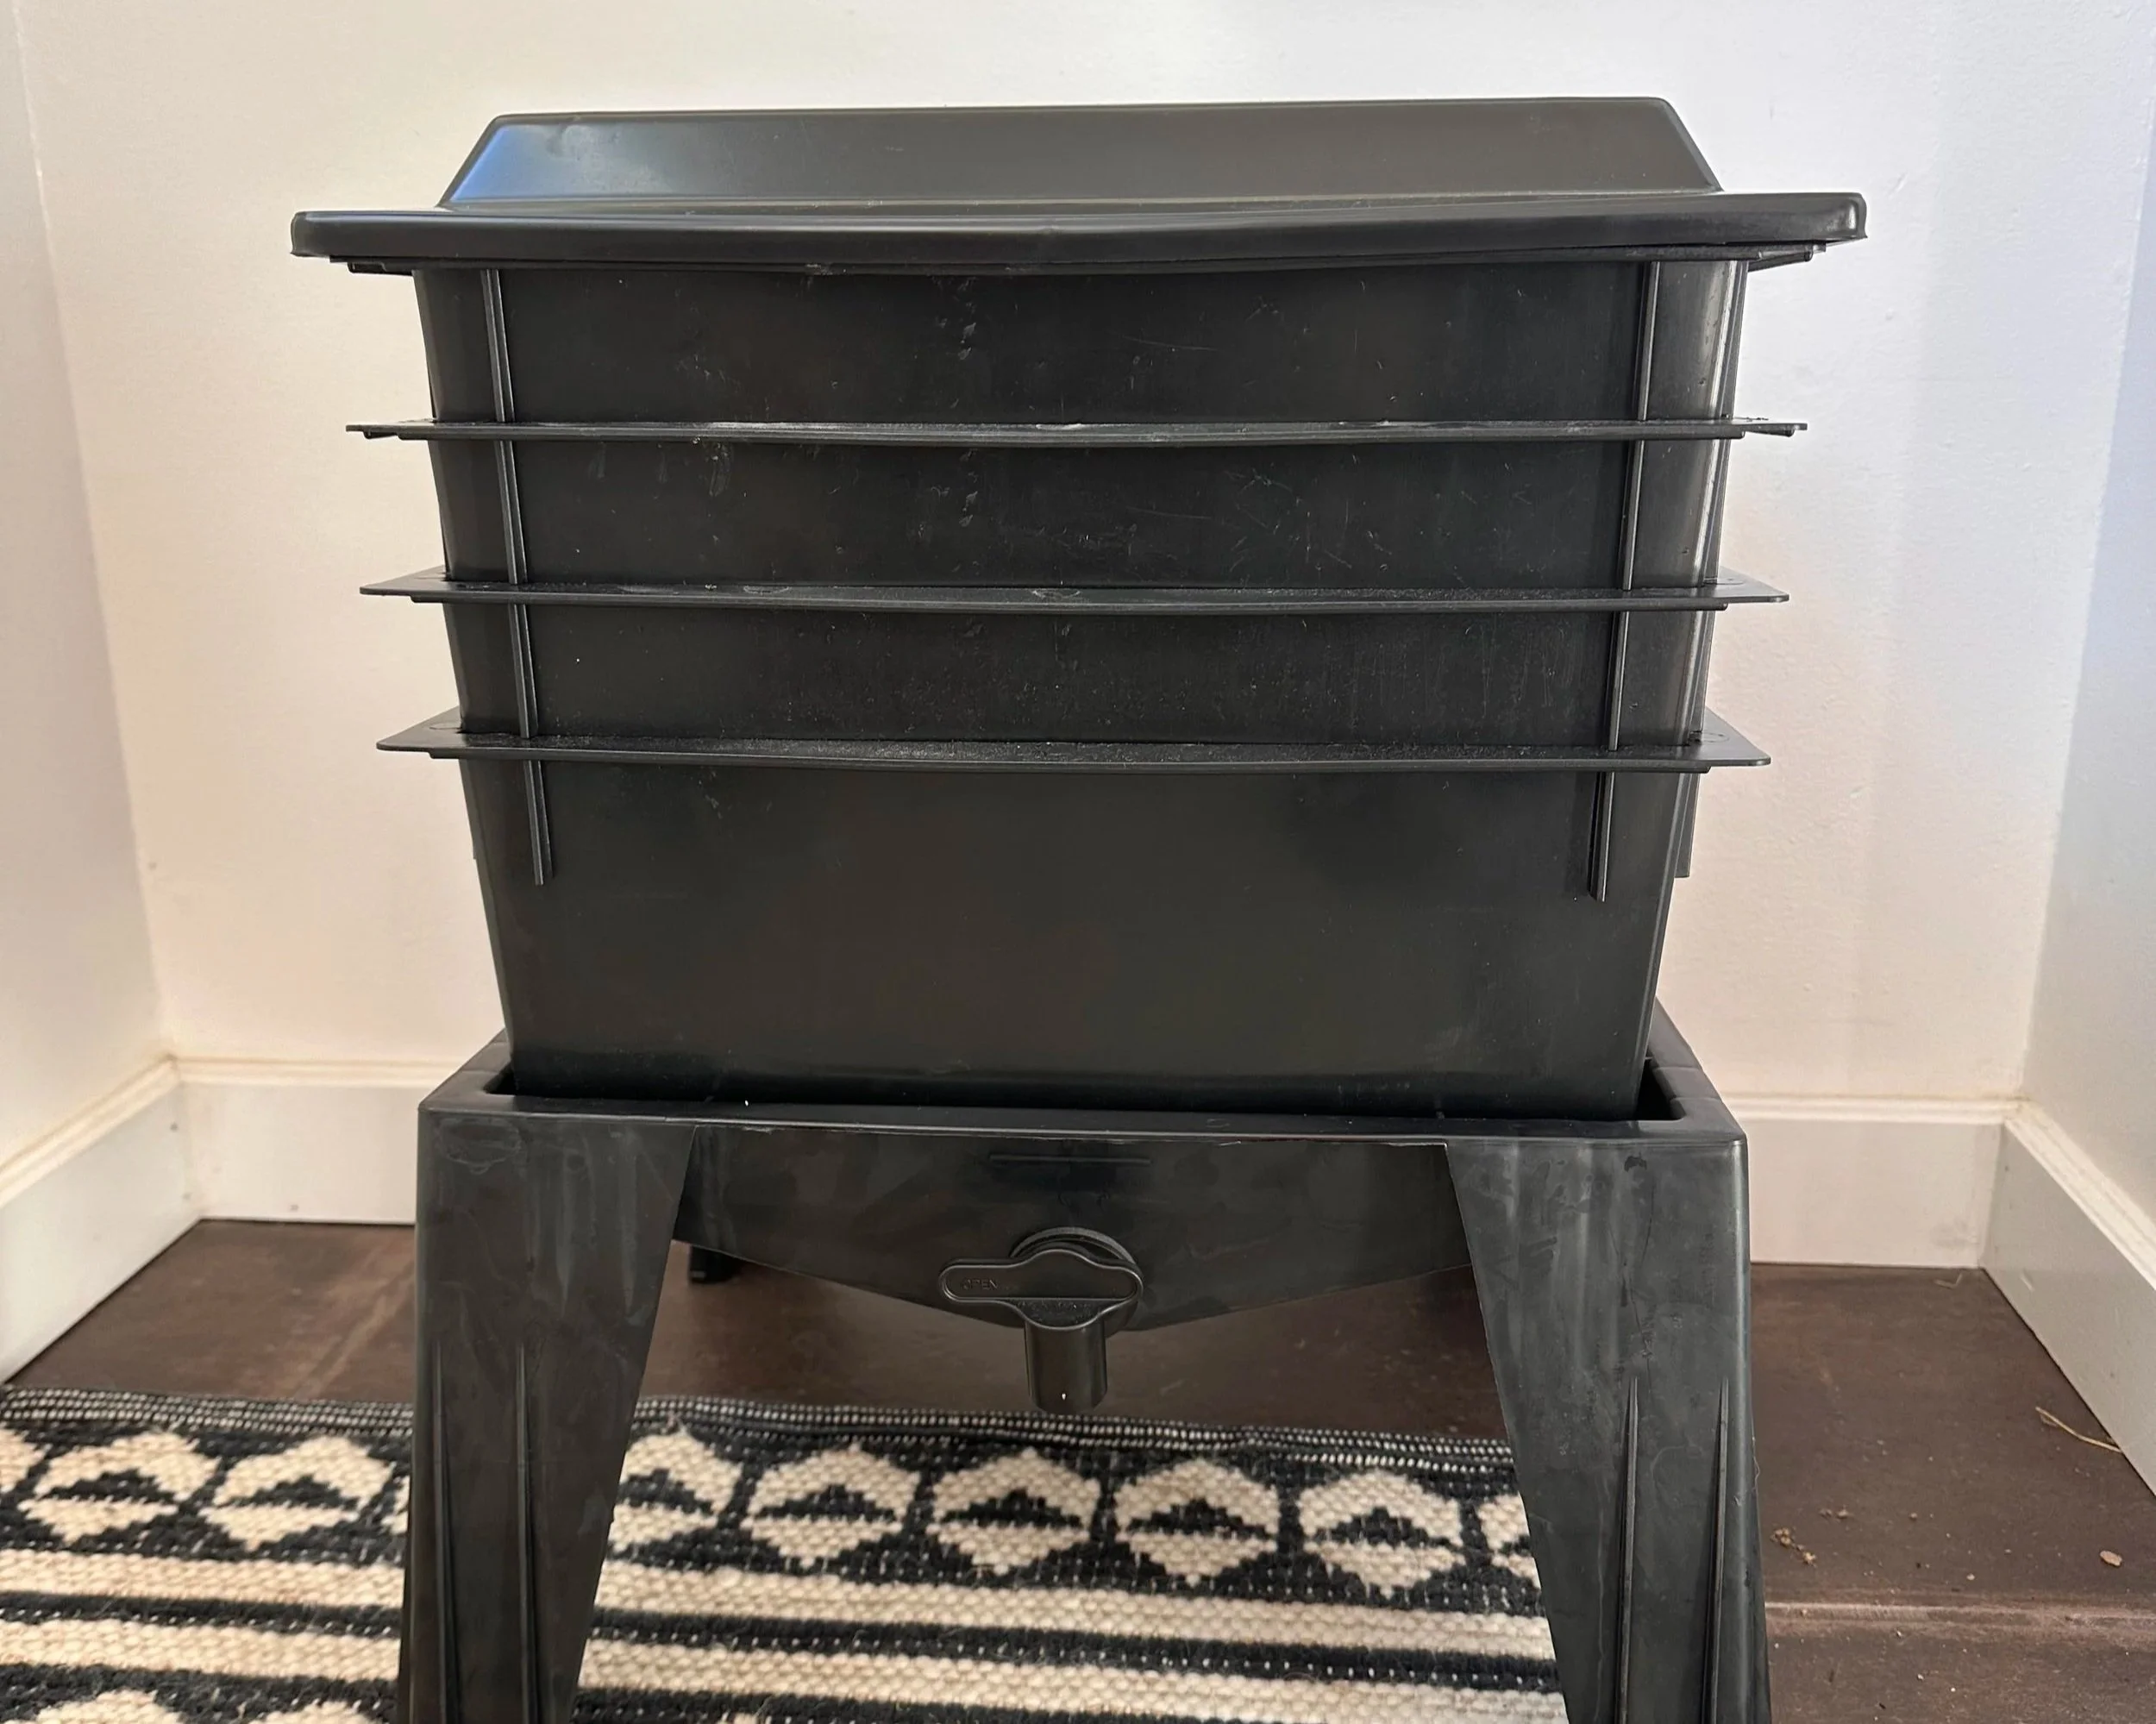
Kitchen Wormbin with stackable trays
This is an image of the worm bin I personally use in my kitchen to put my food scraps to good use!
Worms need an airy, yet moist environment to thrive so one of the most common bedding recipes for a worm bin is 3 inches of wet shredded cardboard (make sure its plain, brown cardboard, not painted), 1 tablespoon of finely ground eggshells (worms need calcium and a little bit of grit to help grind down materials in their stomachs) and 1 cup of foodscraps (start slow!). Worms prefer to eat fruits and vegetables, especially watermelon and food on the softer side. Spicy food or citrus can hurt their membrane and meat and dairy should generally be avoided as well. Once your cozy worm home is complete all you need is an inhabitant. But, before you grab your shovel or head to the nearest bait shop, keep in mind that composting worms are different from your everyday nightcrawlers. Composting worms, also known as “Red Wrigglers” prefer to stay near the surface of the soil and break down fallen leaves, while night crawlers, also known as the common Earthworm, are larger and burrow much deeper into the soil. Red wrigglers prefer warmer temperatures (between 55°F and 77°F) and nightcrawlers can withstand colder temperatures since they can burrow deeper. Indoor systems can be made up of 100% composting worms while an outdoor system, especially in Montana, you may want to buy a combination of red wrigglers and nightcrawlers to ensure they overwinter. With just a few clicks, you can get worms mailed to your doorstep - one of the most popular sites to order them from is Uncle Jim’s Worm Farm.
The same principles apply if you want to scale up your worm colony to inhabit a large pile or windrow. There are numerous Montana ranchers who are also worm farmers - sometimes even gushing more about their worms than their cattle. Start with choosing bedding materials that are already available on the ranch such as leaves, straw, manure, sawdust, and eggshells. If you are using heavy equipment to build your pile, remember that composting worms need the bedding to be airy so avoid driving over the pile. You will also need to keep the bedding moist so it will need watered at the start and throughout the summer. Many choose to cover their piles with permeable landscaping fabric to allow rainfall to infiltrate into the pile but limit evaporation on hot days. To help your worms make it through the winter, you can also insulate your piles with 5-6 inches of straw underneath your protective fabric. Be sure to start by choosing a location that is protected from the wind so you don’t run into temperature or evaporation issues later on. Some ranchers even have large worm bin set ups in heated shops so their vermicast production isn’t slowed by the cold temperatures and no worms are lost. Worms do take maintenance and husbandry just as any other livestock would, but the process can be extremely rewarding, not to mention lucrative whether selling the final product or in yield boost or fertilizer savings.
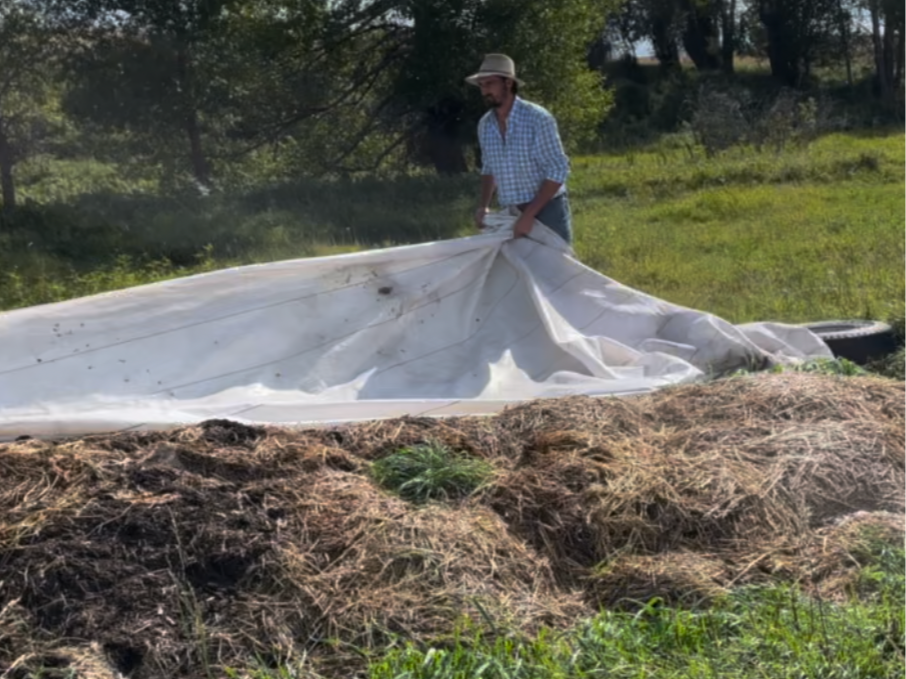
Outdoor Windrow
This windrow style worm farm is insulted with straw and is also covered with a landscaping fabric that allows rain to infiltrate and water it, but limits evaporation in the summer.
When you are ready to harvest your vermicast you will know it is done because the starting materials will be unrecognizable and you will be left with a dark, crumbly material (hint: it looks like worm poop). I use my vermicast on my house plants instead of bottled fertilizers to give them a boost by adding about an inch on the surface of each pot. You can also mix it in with potting soil before repotting for a more even distribution. Use it in your garden as you seed in the spring or apply it on the surface of your rows. It can also be utilized in compost teas or extracts if you want to get more technical. For farming purposes you can add dry vermicast to your seeding box directly with the seed (adjust your seeding rate to account for it), or in the fertilizer box if your seeder has one. You can apply it at 30-50lb per acre, but you can test any concentration depending on your volume at hand. Be sure to leave a section of planted seed untreated so you can observe the results side by side.
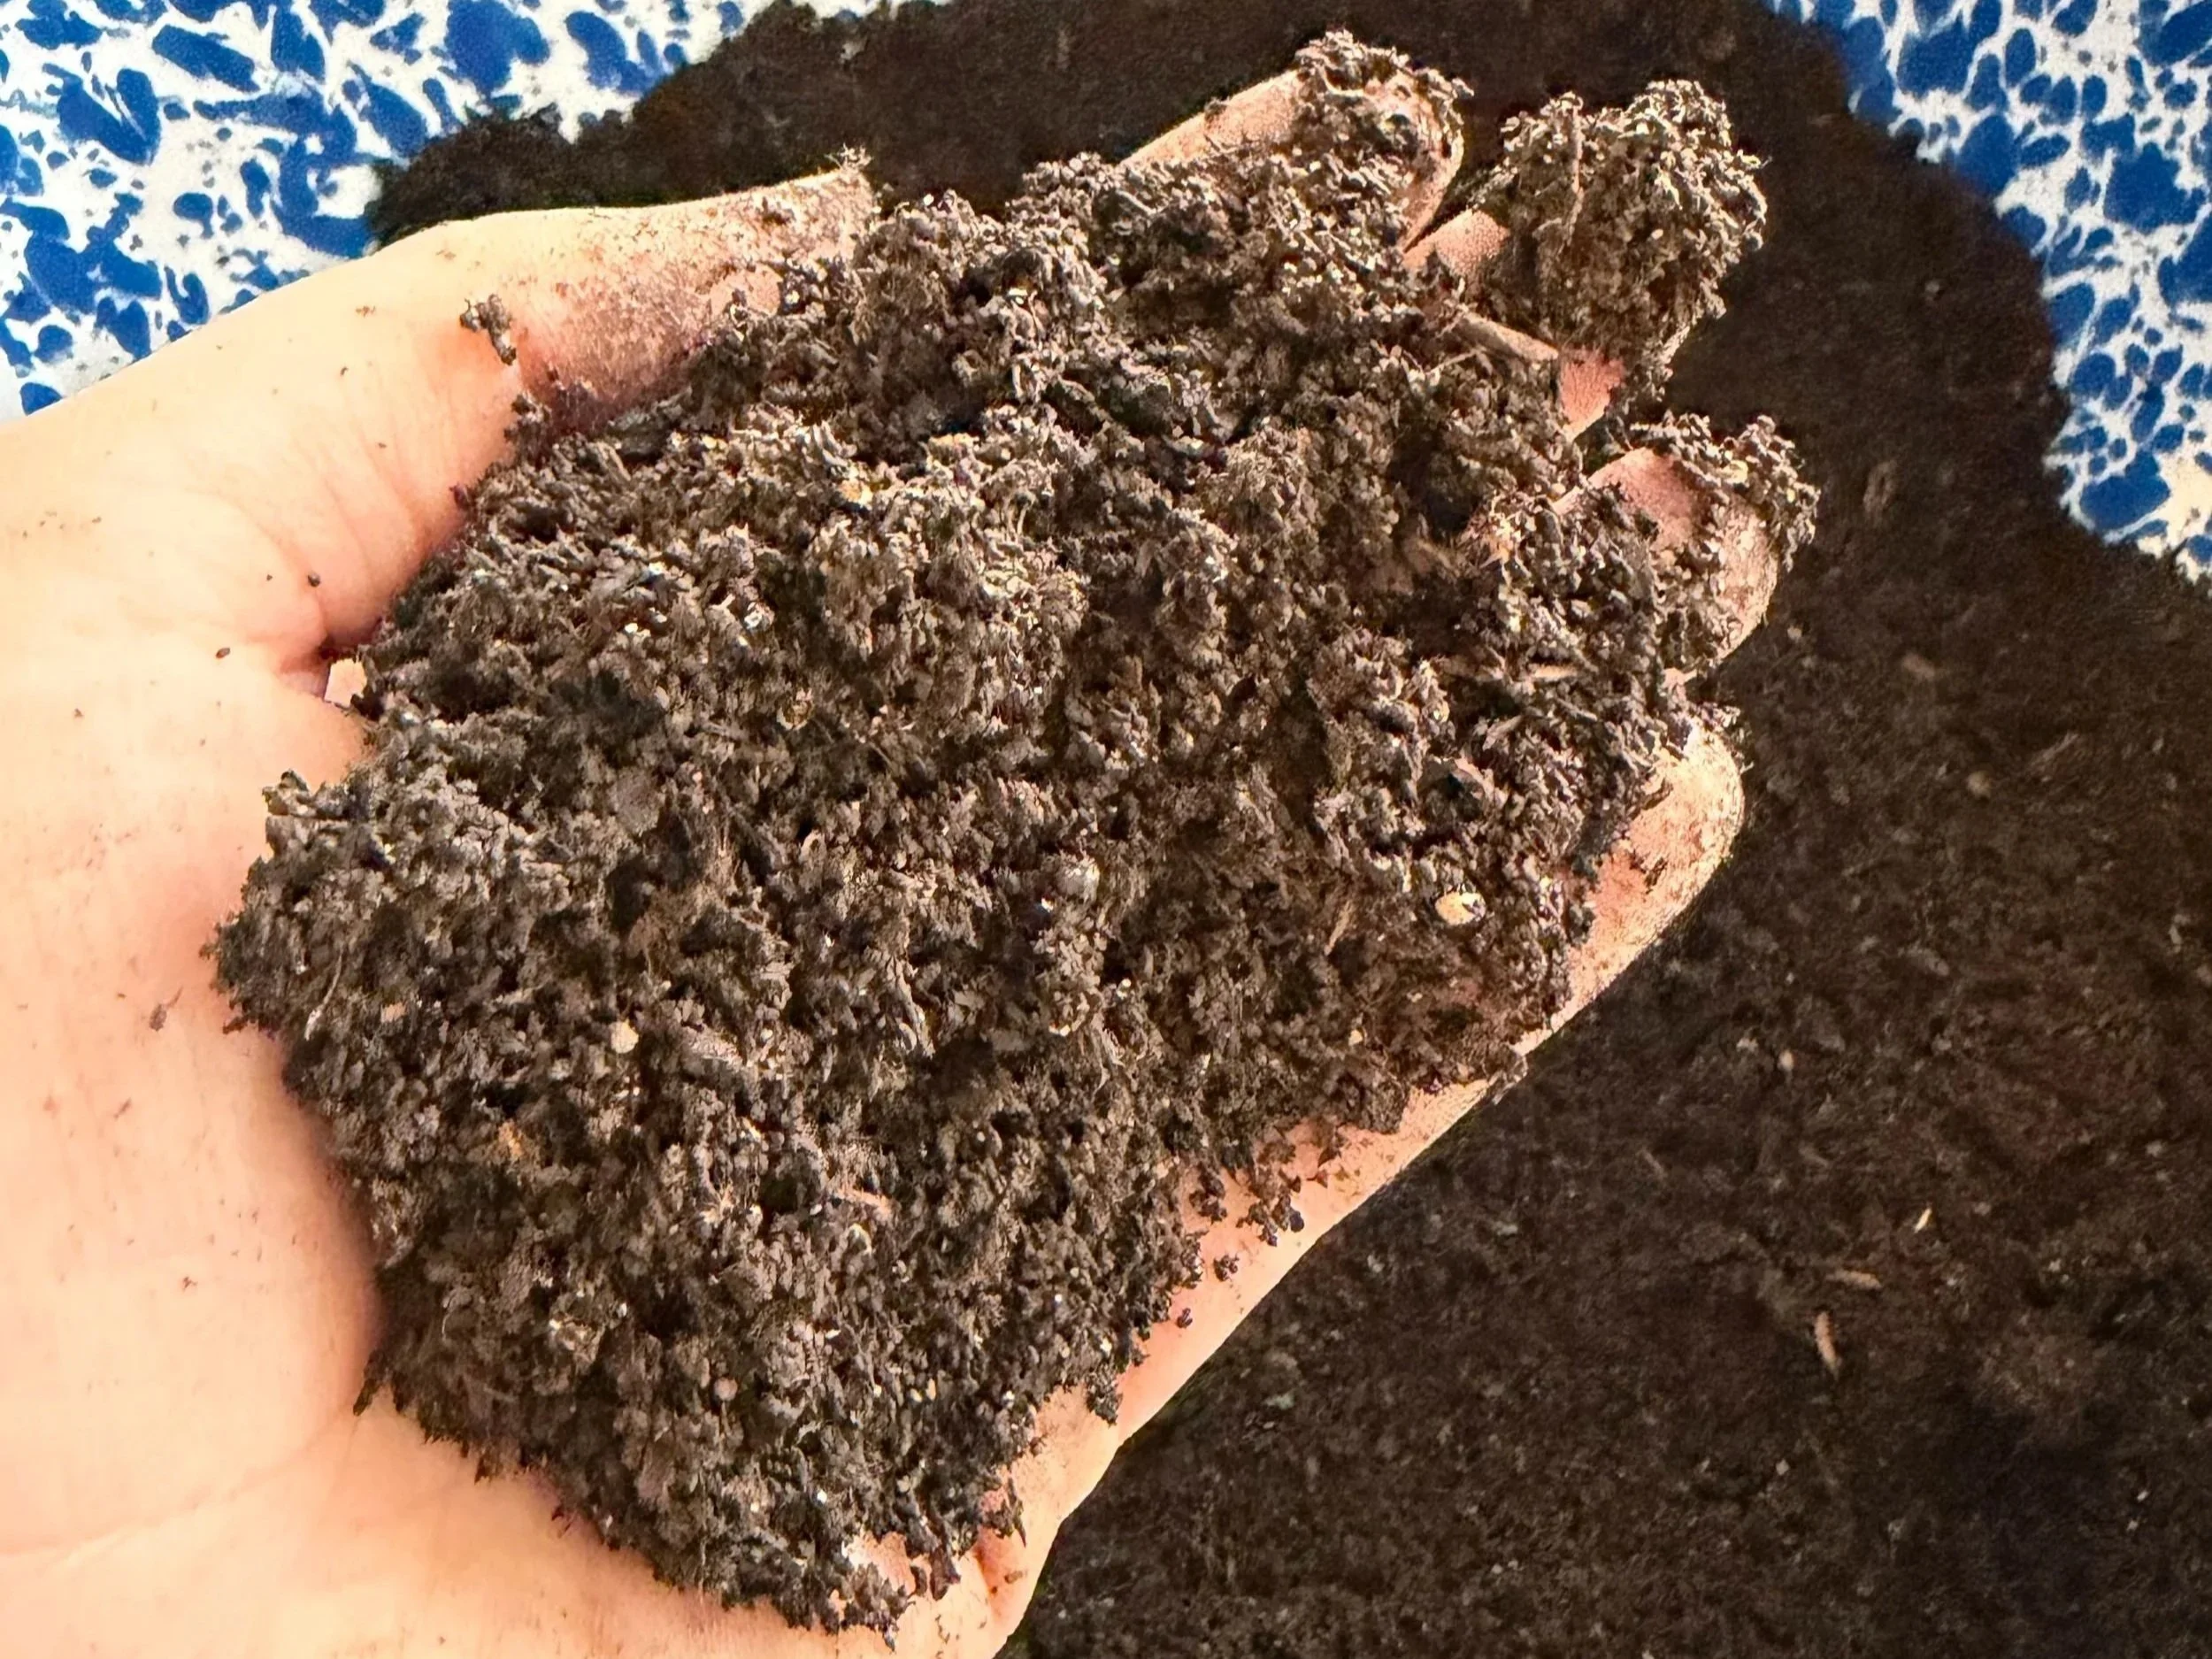
Finished Vermicast
The pictured vermicast started out as shredded cardboard, food scraps and a pinch of ground egg shells
Vermicomposting is a great way to create a beneficial product with many uses at a low cost. If you want to learn more about vermicast I would suggest reading “The Worm Farmer’s Handbook” by Rhonda Sherman or “Worms Eat My Garbage” by Mary Appelhof as a great starting point. For specific tips on a home worm bin there are a myriad of youtube videos to help you through any point in the process or if you want to talk to a real person you can email me at kendall@winnettaces.org. Happy vermicasting!